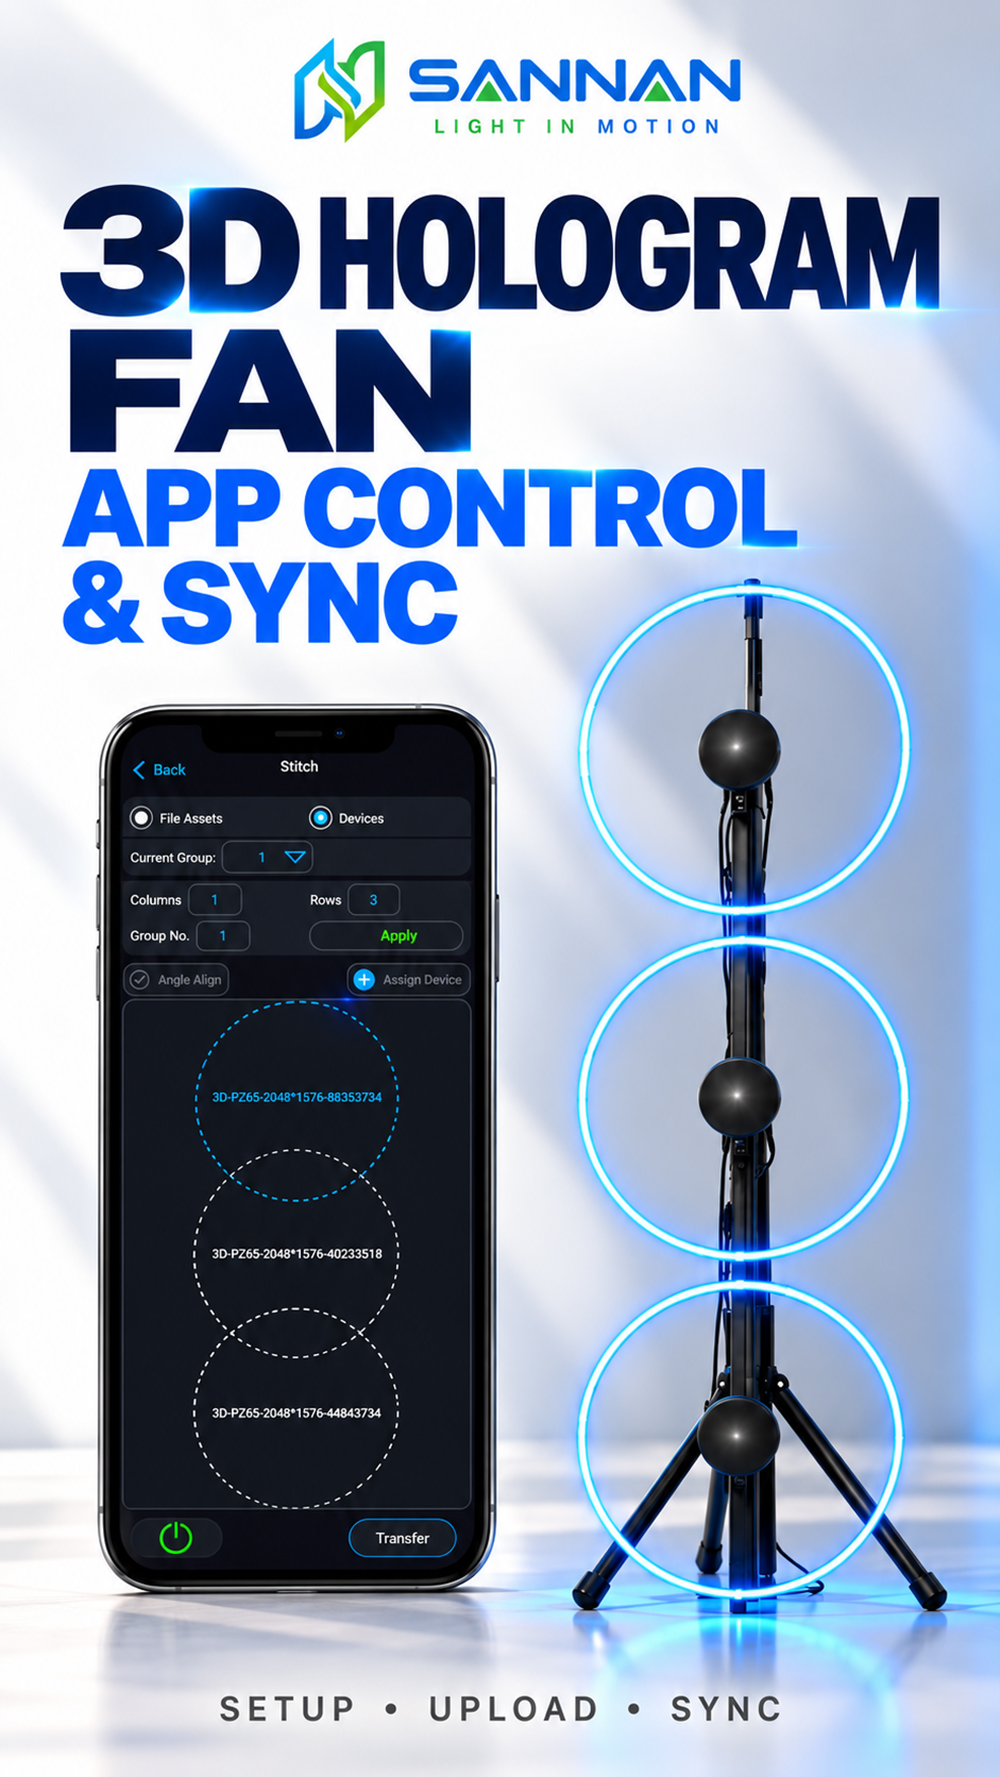
Manage your 3D hologram fan from your phone—from uploading display content to configuring multiple fans for a combined visual.
In this guide, we introduce the Holoscope app workflow demonstrated in our video, including language selection, content upload, and a three-fan vertical layout.
Watch the Video Tutorial
Follow the on-screen demonstration alongside the written steps below.
1. Download the Holoscope App
Use the app download QR code supplied with your equipment to install Holoscope on your phone.
Make sure you are using the app intended for your device model. If you are unsure which version to install, contact SANNAN before proceeding.
2. Connect Your Device
Power on your hologram fan and follow the connection instructions provided with your equipment.
Once connected, open Holoscope and check that your fan appears in the device list. For a multi-fan setup, confirm that all the fans you intend to use are available before configuring the layout.
The connection method may differ depending on the device model.
3. Select Your Preferred Language
The app includes a language selection menu. Choose your preferred language before continuing.
Our video demonstrates the English interface so you can follow the menu names shown in this guide.
4. Select and Upload Content
In the device interface, tap “Transfer” to access the content selection options.
The video shows the following options:
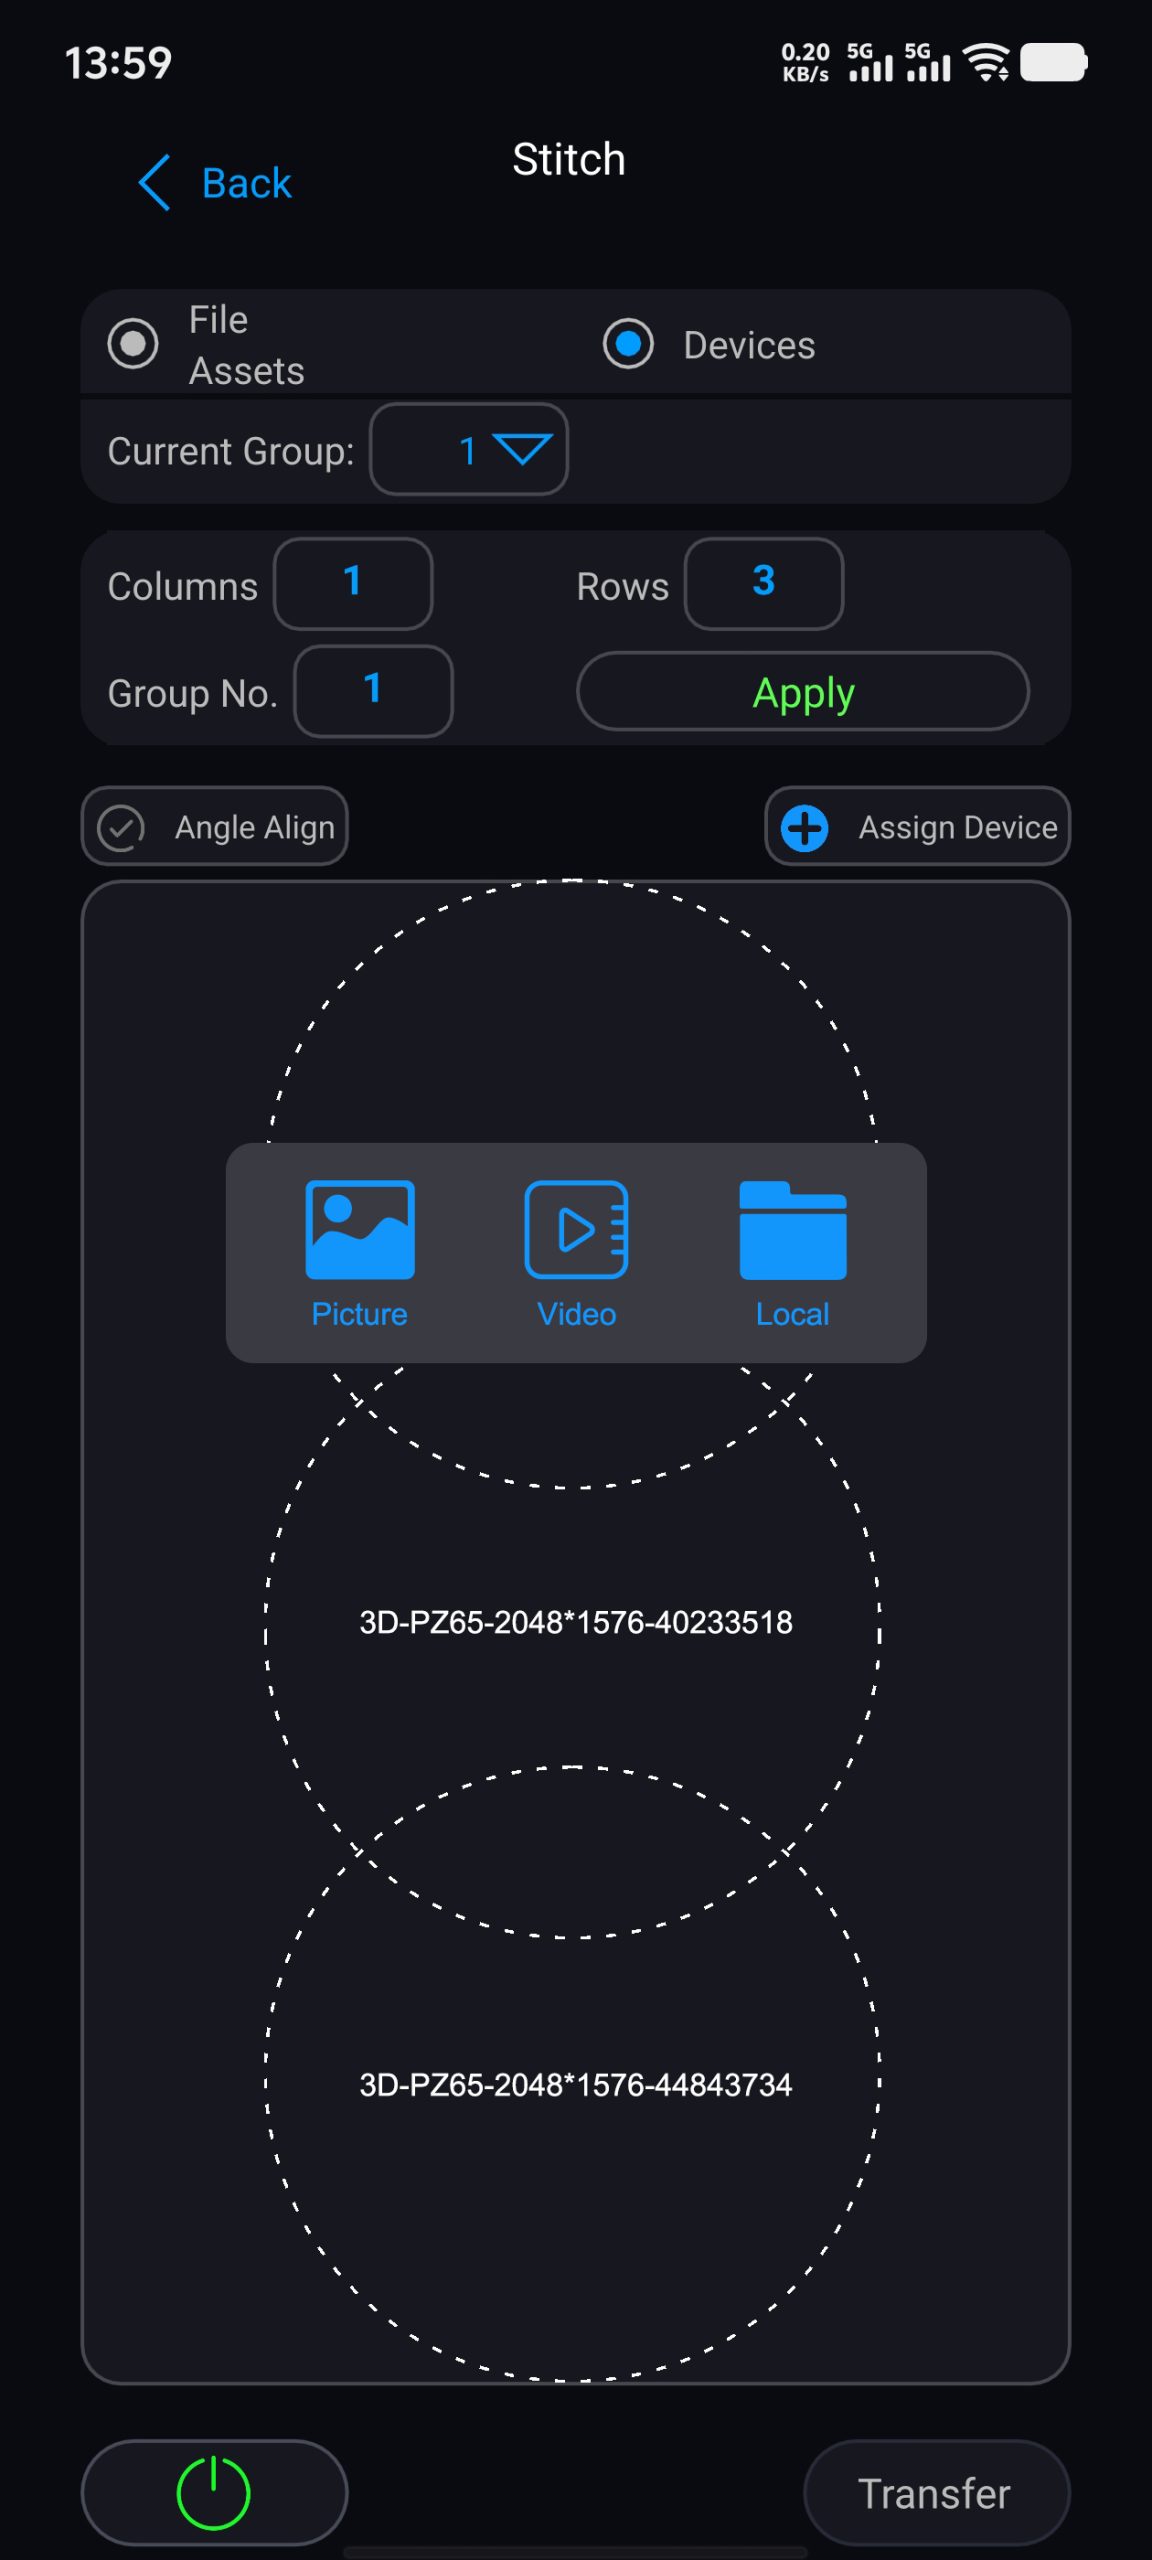
Choose the appropriate source and select the content you want to display. Follow the app prompts to continue the upload or transfer process.
Use content that meets your device’s requirements for file format, resolution, and display layout. If you need help preparing a file, send SANNAN your device model and the content you plan to use.
5. Configure a Multi-Fan Layout
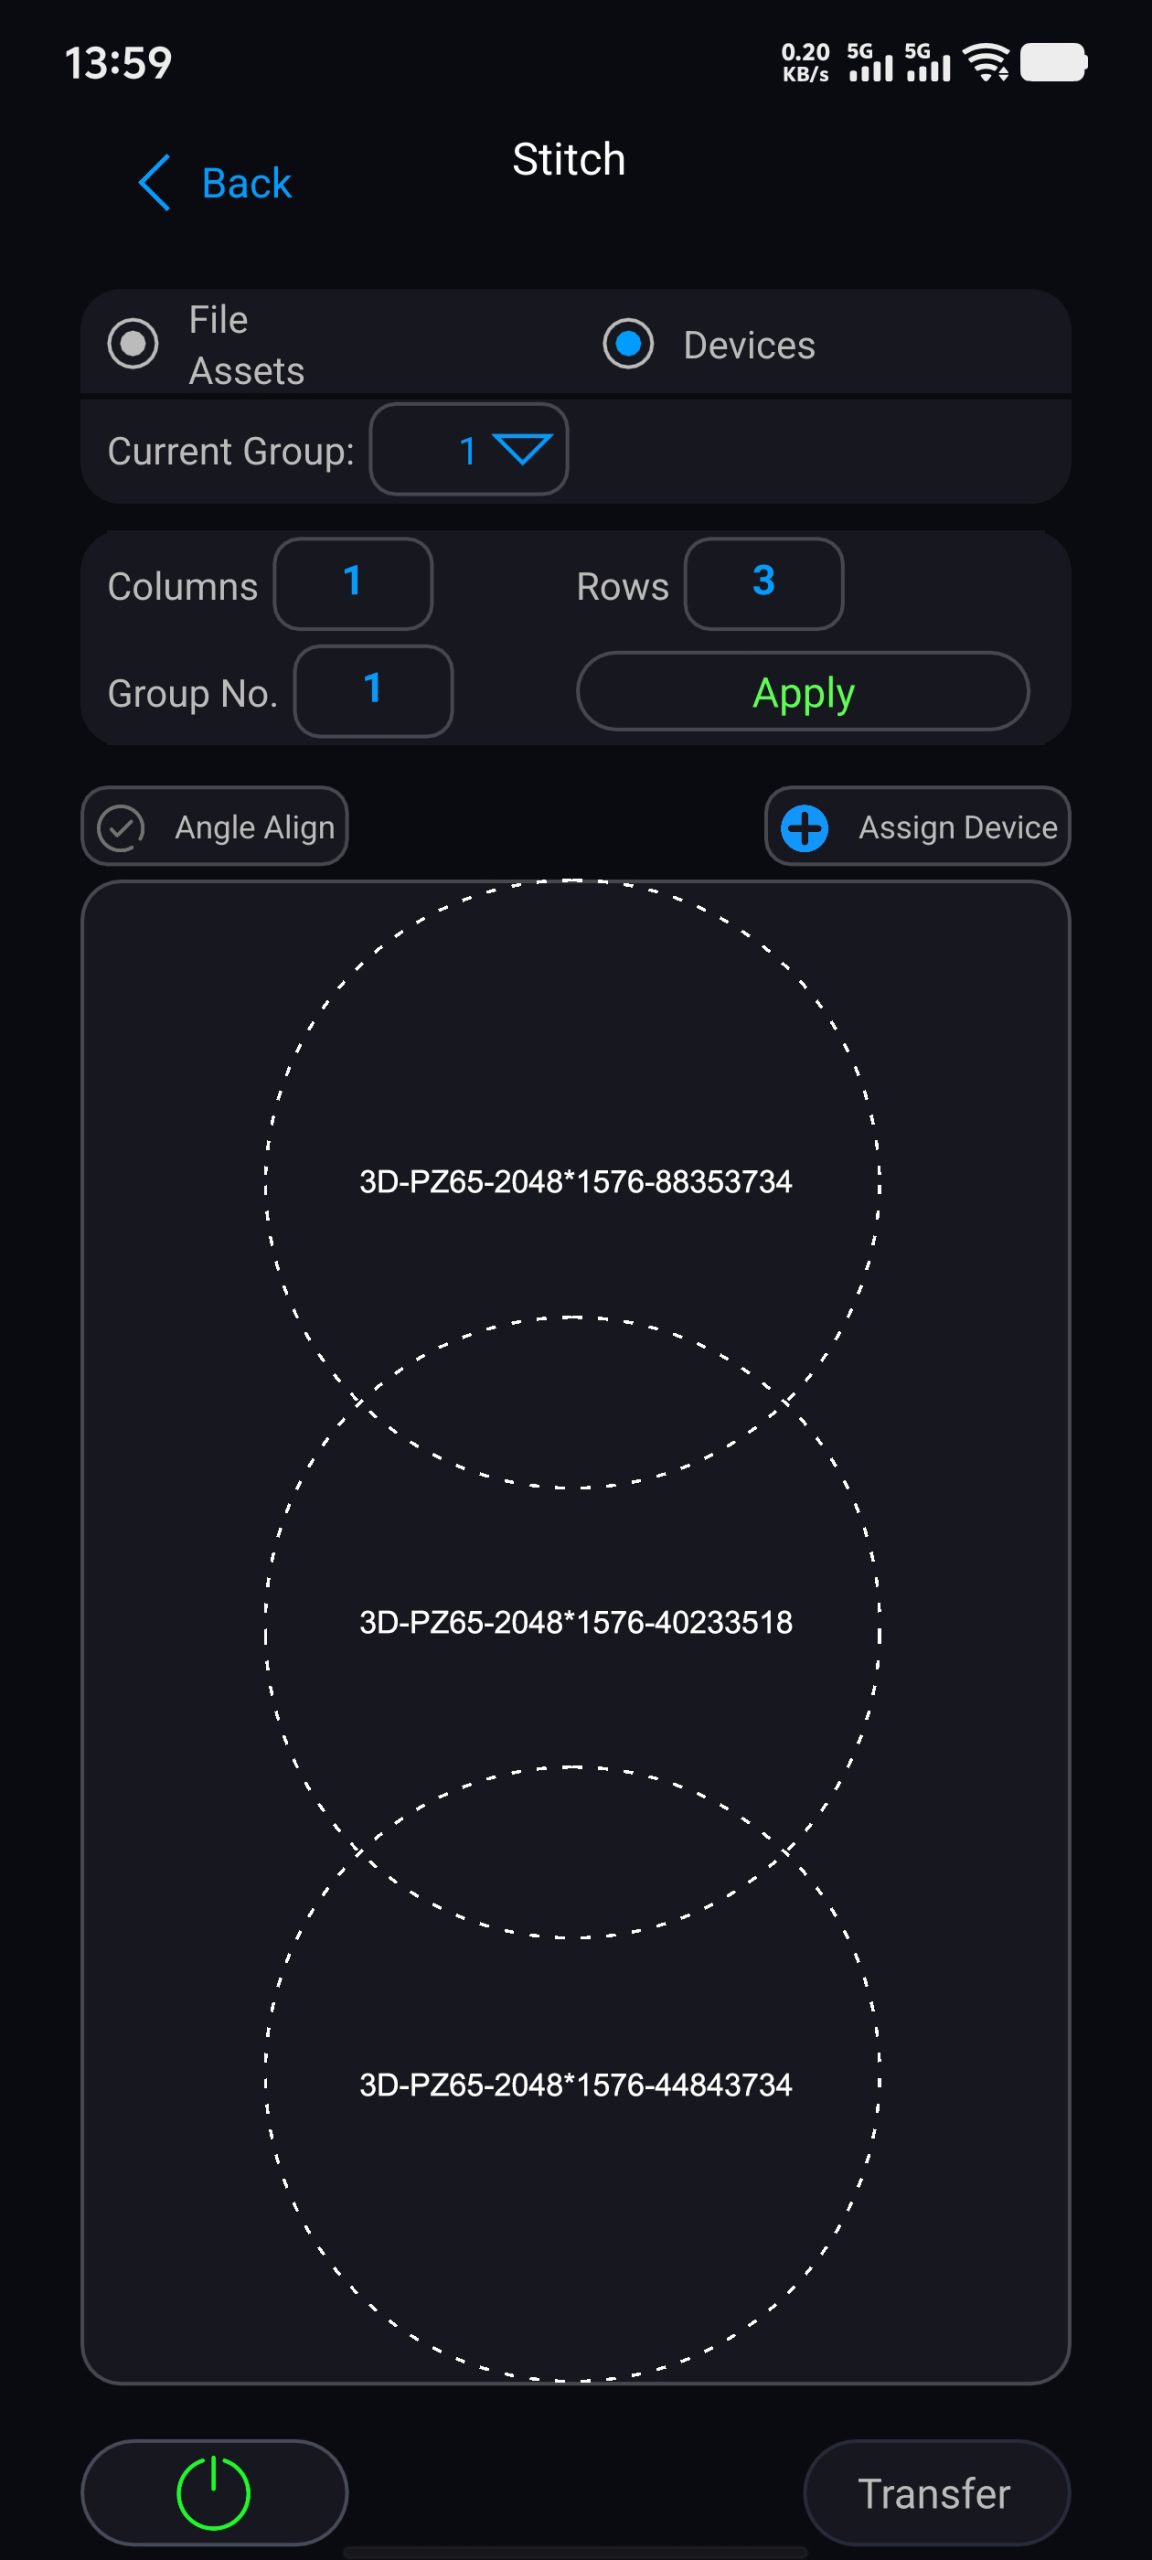
For a combined display, open the “Stitch” function.
The example in our video uses three fans arranged vertically. The layout settings shown are:
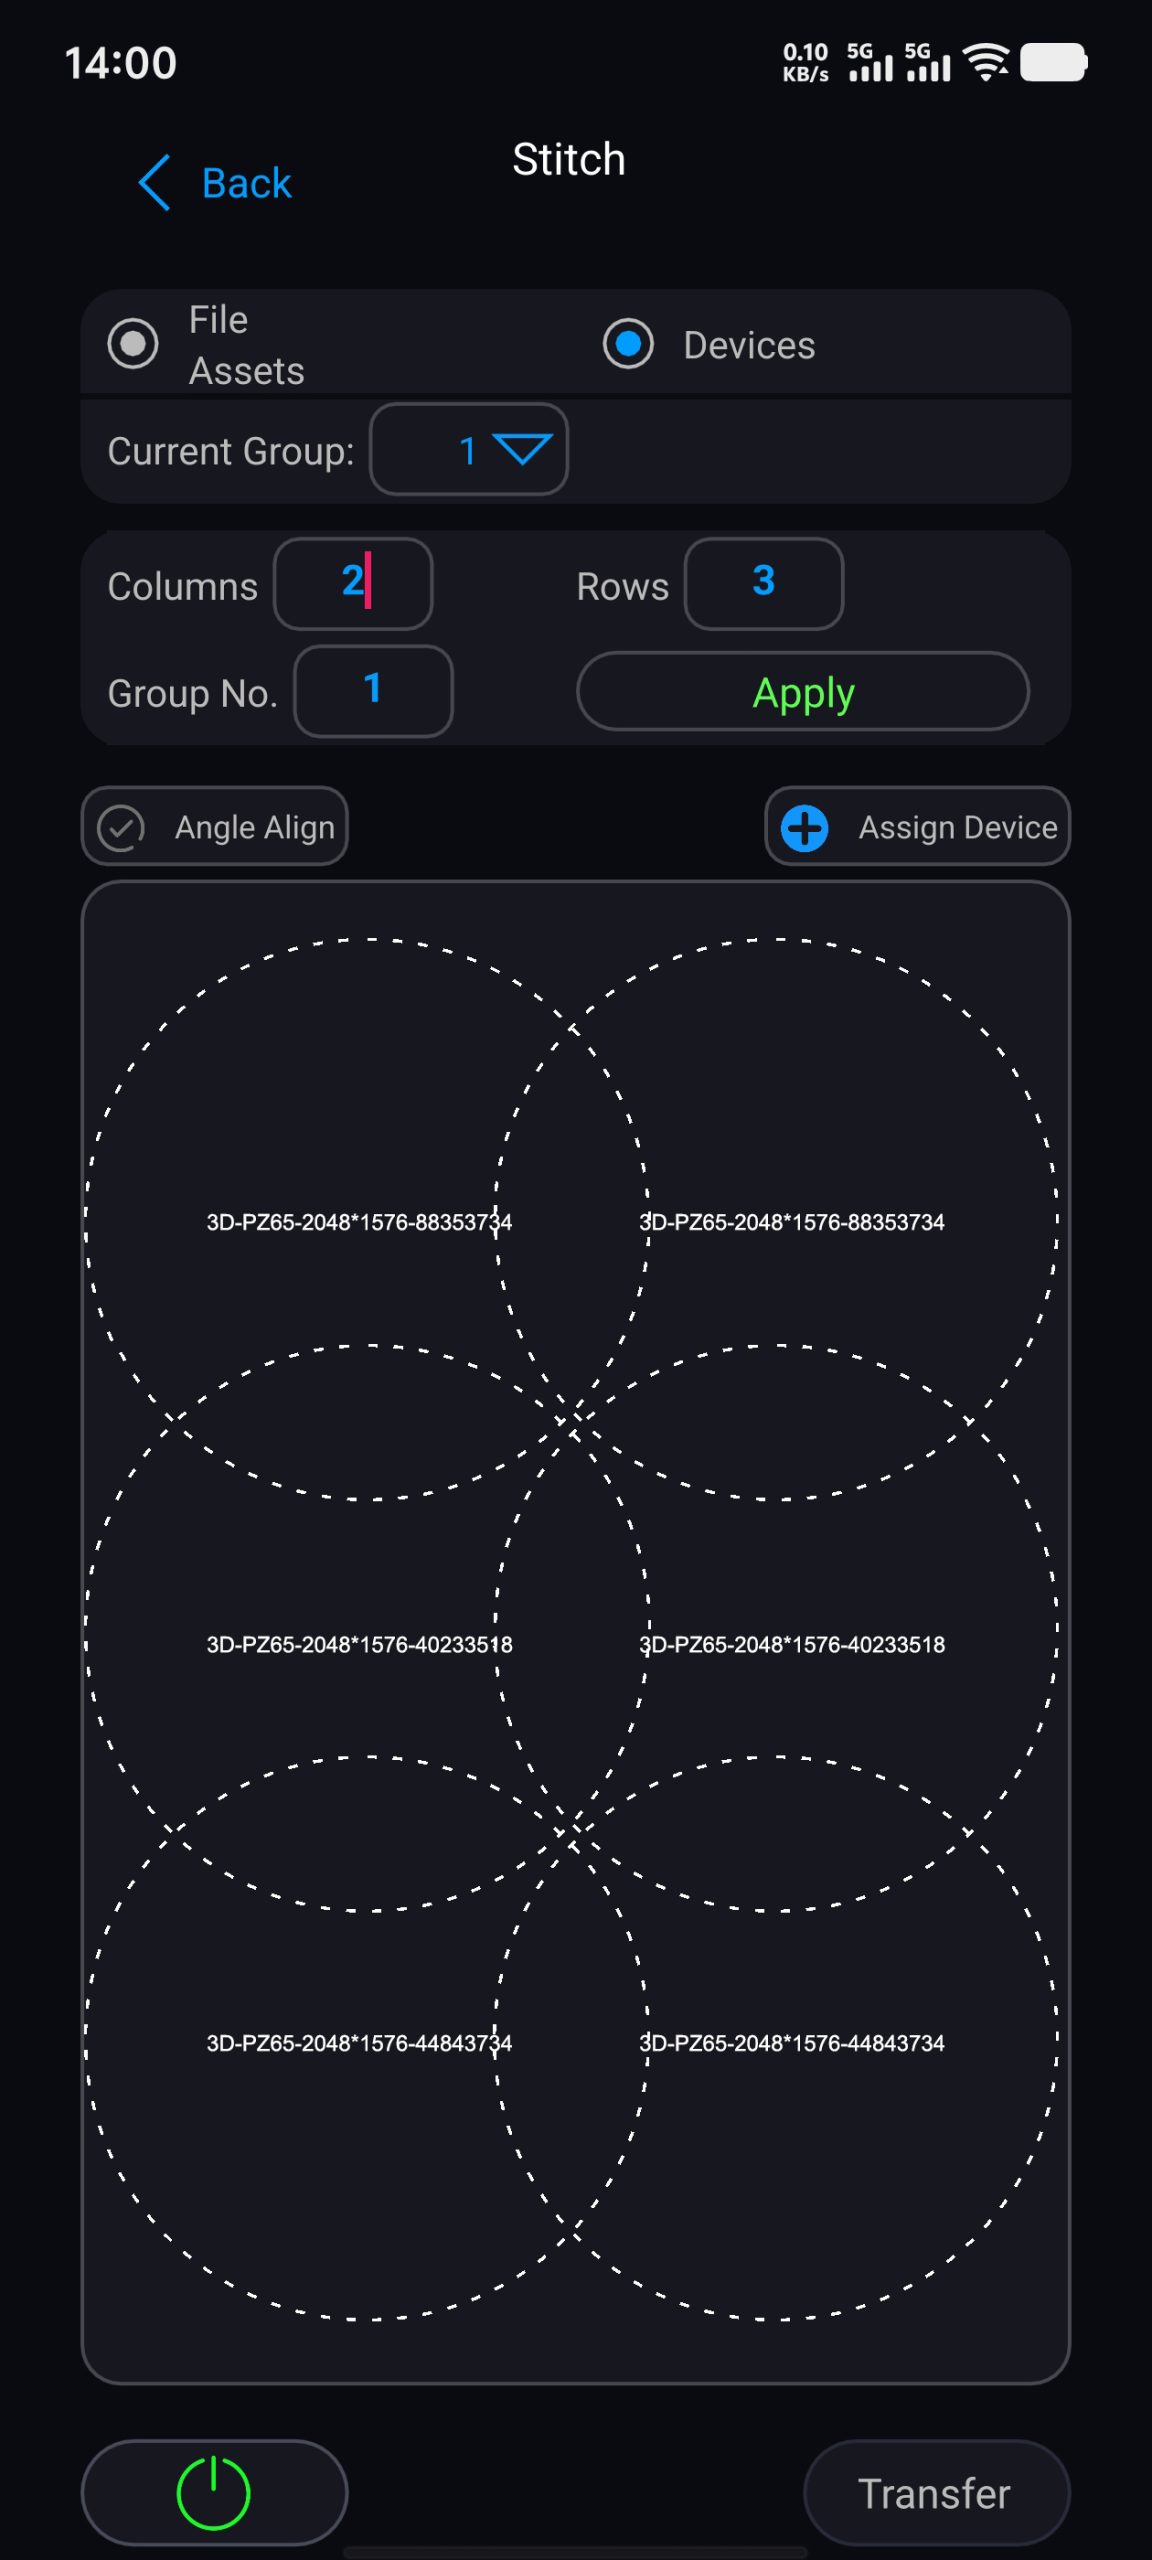
Set the layout to match your actual installation, then tap “Apply.”
Use “Assign Device” to associate the connected fans with their corresponding positions in the layout. Check the arrangement carefully so the image sections appear in the intended order.
These settings describe the three-fan example in this tutorial. Other installations may require a different configuration.
6. Transfer the Content to the Fans
After completing the layout and device assignment, use “Transfer” to send the content to the selected fans.
Monitor the progress shown in the app and allow the transfer to finish before checking playback. Avoid interrupting power or the device connection during this process.
7. Check the Combined Display
Play the uploaded content and inspect the result across all three fans.
The sections appear in the correct top-to-bottom order.
The image orientation and alignment match the installation.
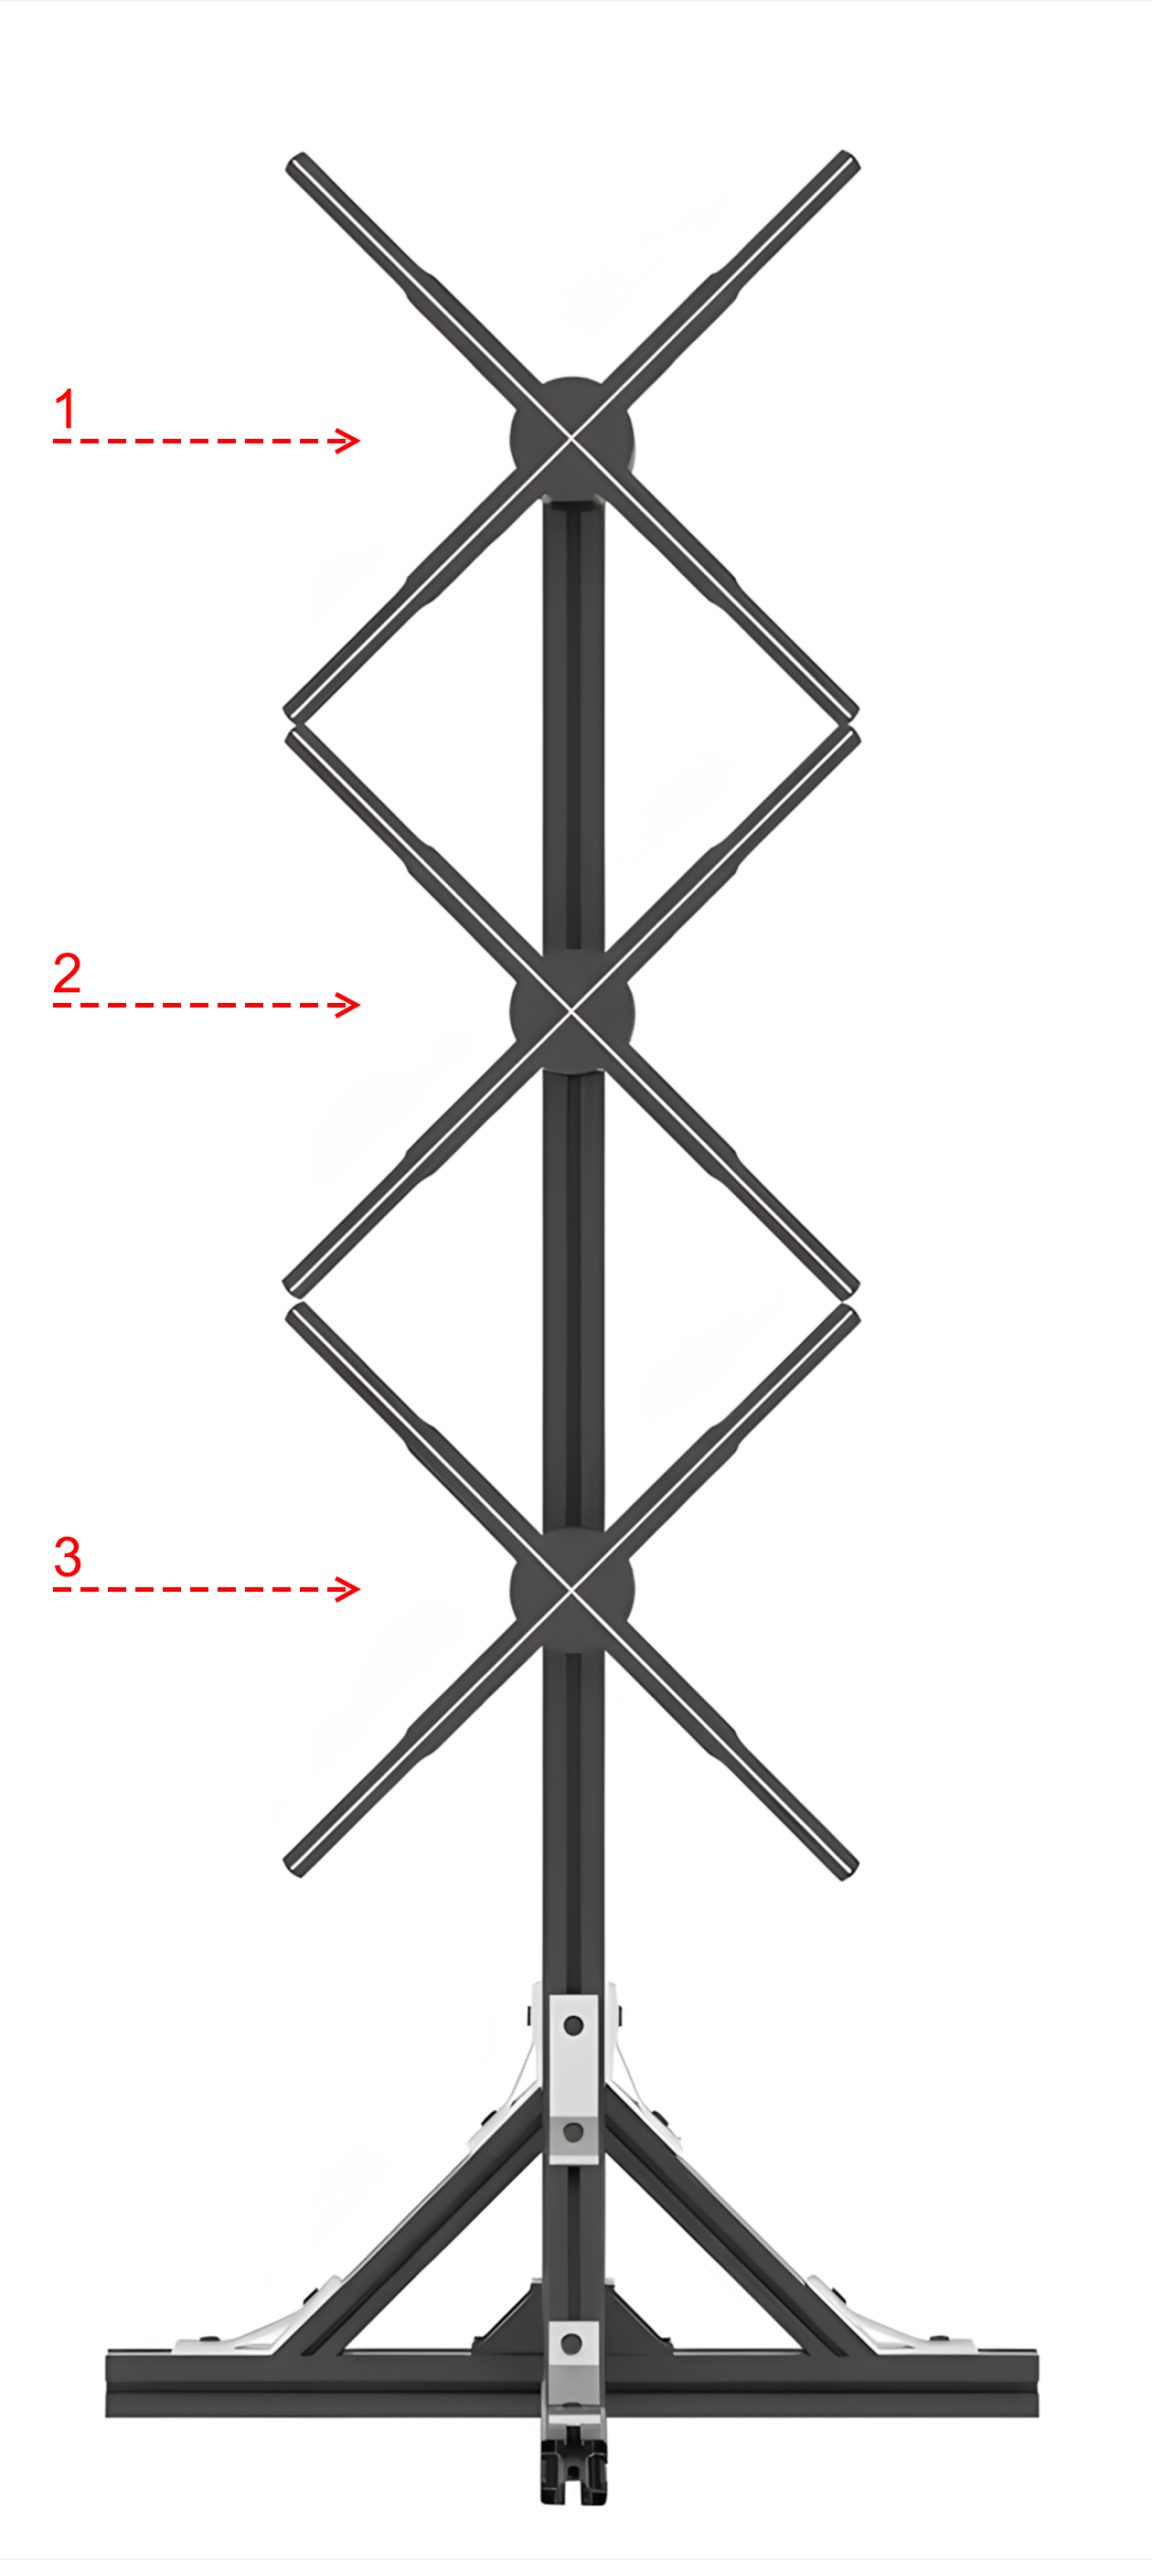
If the result does not match the intended layout, review the row and column settings, device assignment, and source content. Refer to the video to compare your workflow with the demonstrated example.
Frequently Asked Questions
A fan is missing from the device list. What should I check?
Confirm that the fan is powered on and that you have followed the connection procedure for your model. For a multi-fan installation, check each device individually.
The content appears in the wrong position. What should I check?
Review the layout settings and device assignment in “Stitch.” Confirm that each physical fan corresponds to the correct position in the app.
Can I use the same settings for every installation?
The settings in this guide are for the three-fan vertical arrangement shown in the video. Layouts, available functions, and content requirements may vary by device model and app version.
Need Assistance?
For more efficient support, please send us:
Your device model
A screenshot of the app screen or error message
A short video showing the issue
The file you are trying to upload
Email: kiki@szsnled.com
SANNAN | LIGHT IN MOTION